Satisfactory Guide – Beginner Tips & Tricks
Ensure a Satisfactory first few hours with this guide! Satisfactory may have only just launched into Early Access, but it’s already a deep factory and resource management game in the vein of games like Factorio. With this depth, however, comes a lot of complexity. Though there’s a tutorial to help you get started, it’s easy to feel bewildered as a first-timer landing on a strange alien world with the vague objective of exploring and building stuff.
Our beginners guide to Satisfactory provides some tips and tricks to help you make more sense of its automation-based mechanics. We’ll update it as time goes on with more advice to make your extraterrestrial venture a success.
Satisfactory hotkeys
Satisfactory has a bunch of hotkeys for using its equipment and taking shortcuts in the building process:
- Tab – Inventory
- Q – Build menu
- F – Demolition tool
- V – Turn light on or off
- C – Resource scanner (hold to select the type of resource)
- C (in vehicle) – Vehicle menu
- X – Schematics and message inbox
- Z – Map
- Space – Hold down to craft continuously
- P – Photo mode
How to use the hotbar

In addition to the above hotkeys, you can use the number keys to hotkey types of buildings you use often. Access your build menu with Q, hover over the building type and press the number that you want to use as a shortcut for it.
Where are Satisfactory screenshots saved?
This has changed location since the beta and so could very well change again, but as of this time of writing, Photo mode screenshots for the Early Access version of Satisfactory are saved in:
C:\Users\<User>\Documents\My Games\FactoryGame\Screenshots
Give yourself enough space

Where possible, choose the largest, flattest areas to start constructing your factory in. A few minutes spent exploring to find the biggest areas can pay off by giving you less headaches down the road from not having room to fit everything in. Where you first land overlooks some decent plains that aren’t a bad place to get started.
Resource nodes and purity ratings
Impure resource nodes have a lower output of materials, only half that of a normal node. Pure nodes, on the other hand, are double that of normal ones. Try to find something better than an impure node where possible, as the end result will be much slower resource gathering and item creation.
Also note that you have to manually mine chunks of resource above the ground before being able to build a miner on top of them.
Focus on your milestones and research
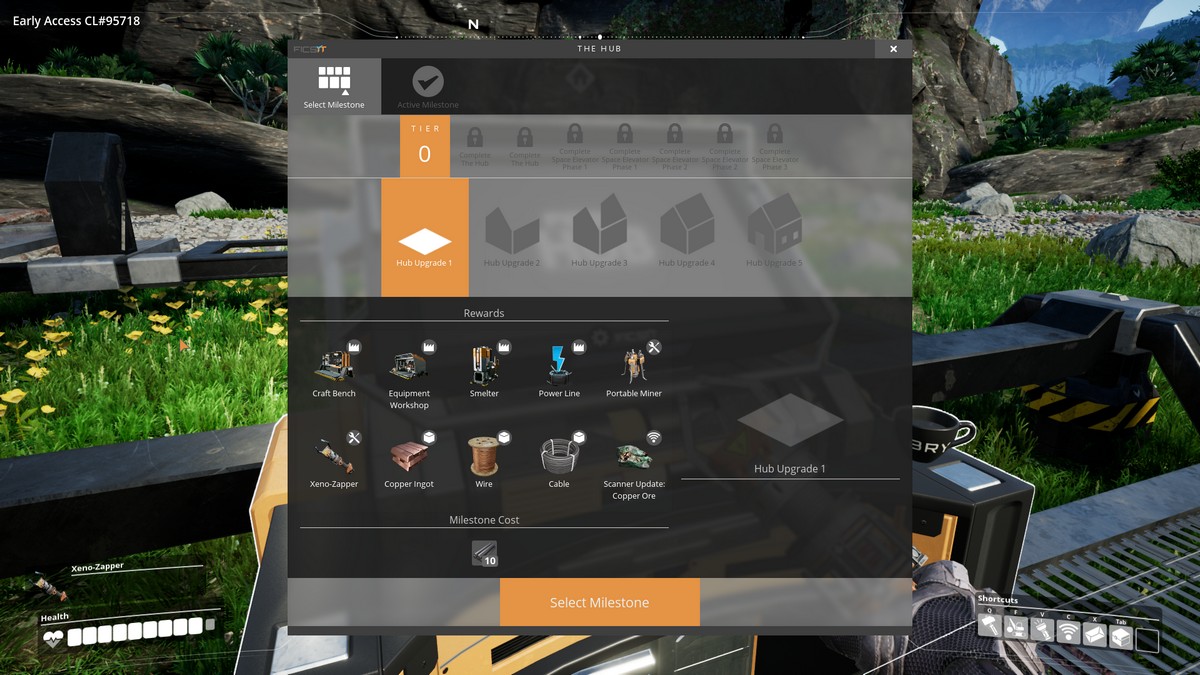
Milestones and research projects are expensive on resources and can take a while, but they’ll reward you with some newer toys to play with and invaluable time-saving inventions. It pays off to unlock new stuff as soon as you can.
To-do list and milestones reminder
Further to the above, for whatever you’re working on right now, whether that be a new milestone or building a certain piece of equipment, ensure to set yourself reminders with the to-do list and milestones reminder.
The former is activated by right-clicking the item you want either within the Equipment Workshop or build menu, and selecting ‘Add to to-do list.’ This pops up a little widget on the right of your screen listing all the items and resources you need to build it. You can track multiple things at once if you wish, expanding or minimising them as you go. As for the milestones, you can select these to show a reminder in the top-right of the resources you need.
Power poles

You’ll need power poles to create a network of power for keeping all of your buildings running. What’s important to remember is that each power pole can only have four items connected to it by power lines – this includes the power source leading to it. You’ll often want to leave one of these spaces free to connect to another power pole and give yourself three more slots to play with.
Oh, and power poles can be used as a ladder, which is a nifty bonus.
How to fight hogs

Hogs can be a bit of a bugger to deal with in the beginning. There are a couple of effective ways to fight them, however. One of the most effective methods is to jump as they run at you. Time it right and you can quickly look downwards mid-air and hit them with your stun gun. Then the upper hand is yours.
Alternatively, if you’re quick you can dash at them before they do the same to you, running around them in a semi-circle to stun them quickly from the side. When they’re stunned once it’s much easier to take them down.
Note that hogs drop alien carapaces. Hold onto these, as you’ll have a use for them later.
Make good use of portable miners
Build portable miners in the beginning from the Equipment Workshop, equip them then deploy on a resource node. They’ll get to work on drilling into the node by themselves, without needing a power supply. You can walk over to them and collect the materials they’ve gathered, with each storing up to 100 resources at a time.
Whereas you’ll have less need for portable miners later on, they’re a great solution for grabbing resources early rather than digging away by yourself.
Keep an eye out for slugs

Slugs are large green molluscs found across Satisfactory’s map. They emit a vivid glow, which helps you spot them amongst the undergrowth. You can’t use them straight away, but collect them anyway – you’ll later unlock a building to deposit slugs into. As a result, you’ll unlock new things and be able to overclock your buildings for more performance.
Crafting and resource management tips

At the Crafting Bench, hold down the spacebar and you’ll more quickly craft a bunch of items in one go, rather than having to click and hold.
Shift-click to transfer whole stacks of resources in one go, or hold right mouse button to split them in half if you don’t want to move over all of them. Alternatively, hold CTRL and drag to move every item of a certain type, across multiple stacks.
Use the grid function
By holding control when building, you’ll snap a building to the grid. This helps you create a more organised layout to your base, with everything neatly lined up. Good for those with OCD and simply for being more efficient – Satisfactory is all about efficiency.