
Risk Of Rain 2 Tips And Tricks
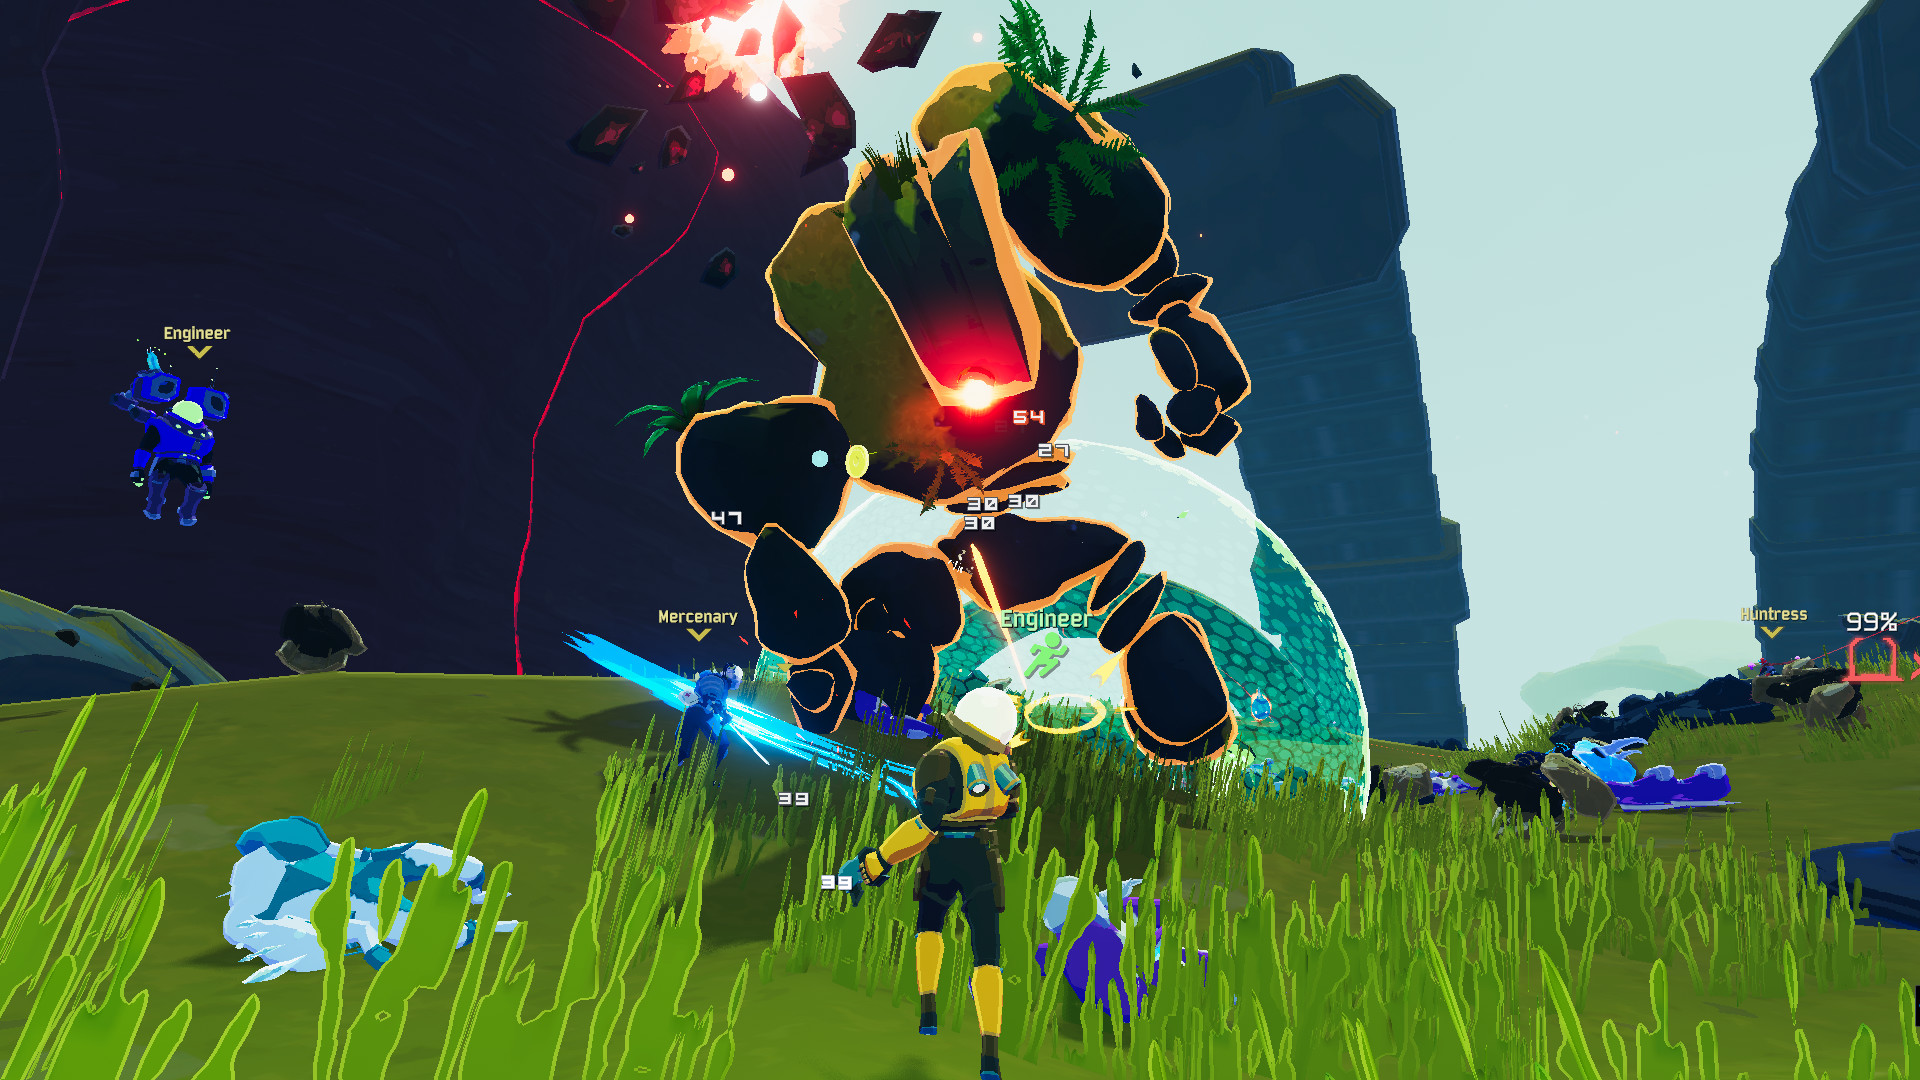
Risk of Rain 2 is a vibrant third-person roguelike where you and up to three more players traverse multiple otherworldly planets wreaking havoc and looting everything in the way. The number of items and synergies to experiment with across ten unique characters can be a bit overwhelming, and the moment-to-moment gameplay ain’t exactly a walk in the park. But don’t fret, these Risk of Rain 2 tips and tricks should cover everything you need to know to succeed in your procedurally generated adventures.
Risk of Rain 2 tips and tricks
There are a lot of general tips to consider when playing any roguelike game, but Risk of Rain 2 is a different beast. All of these Risk of Rain 2 tips will help make sure you’ve got the highest possible chance of surviving every run. Just remember to always keep moving, always keep attacking, and don’t spend too much time hunting for chests or you’ll get pummelled by the difficulty.
All items are useful, most of the time

There are only a few facilities that actually showcase the item you’re about to purchase, but this is only helpful if you already know what they do beforehand. As a general rule, though, there are no bad items. Any white, green, yellow, and red items will either add a new ability to your character or increase something around their behaviour, such as speed, life regeneration, and so on.
Blue items, however, usually come with a cost. The Shaped Glass, for example, increases base damage by 100% but reduces maximum health by 50%. Some combinations can be deadly – if you or a teammate have the Glowing Meteorite (which activates a meteor shower for 20 seconds that damages friendly characters as well as enemies) and Gesture of the Drowned (which reduces cooldown times and activates items automatically once equipment items replenish themselves), you can expect chaos from the skies every couple seconds. Believe me, it’s terrifying. Beware the blue items.
Printers are great for sticking to a build
As you begin to learn which items work best with each character, you should really start paying attention to 3D Printers. These facilities grant you one specific item, always displayed on the top. The way they work is that they “recycle” an item you’re carrying at random from the same rarity. So if you see an item of a green rarity, it will consume a green item of yours at random for as many times as the number of items you’re carrying of said category. Since items can be found anywhere, it’s worth making a stop and focusing on one aspect of your character you want to enhance before moving on. In the full release, there are now things called Scrappers. These interactables allow you to choose any of your items and scrap them. You can then trade that scrap later at a 3D Printer. You lose the item in the meantime, but it means you can protect the items you want to keep and not lose them to the cruel god of RNG.
Don’t underestimate turrets

I get it, it’s always more tempting to cash in chests instead of turrets, but they can be really useful. There are different types as well, some focused on healing while others will shoot anything on sight, and the best part is that they follow you along across levels. Whether you’re playing solo or with friends, they can add solid support for the group, especially in numbers.
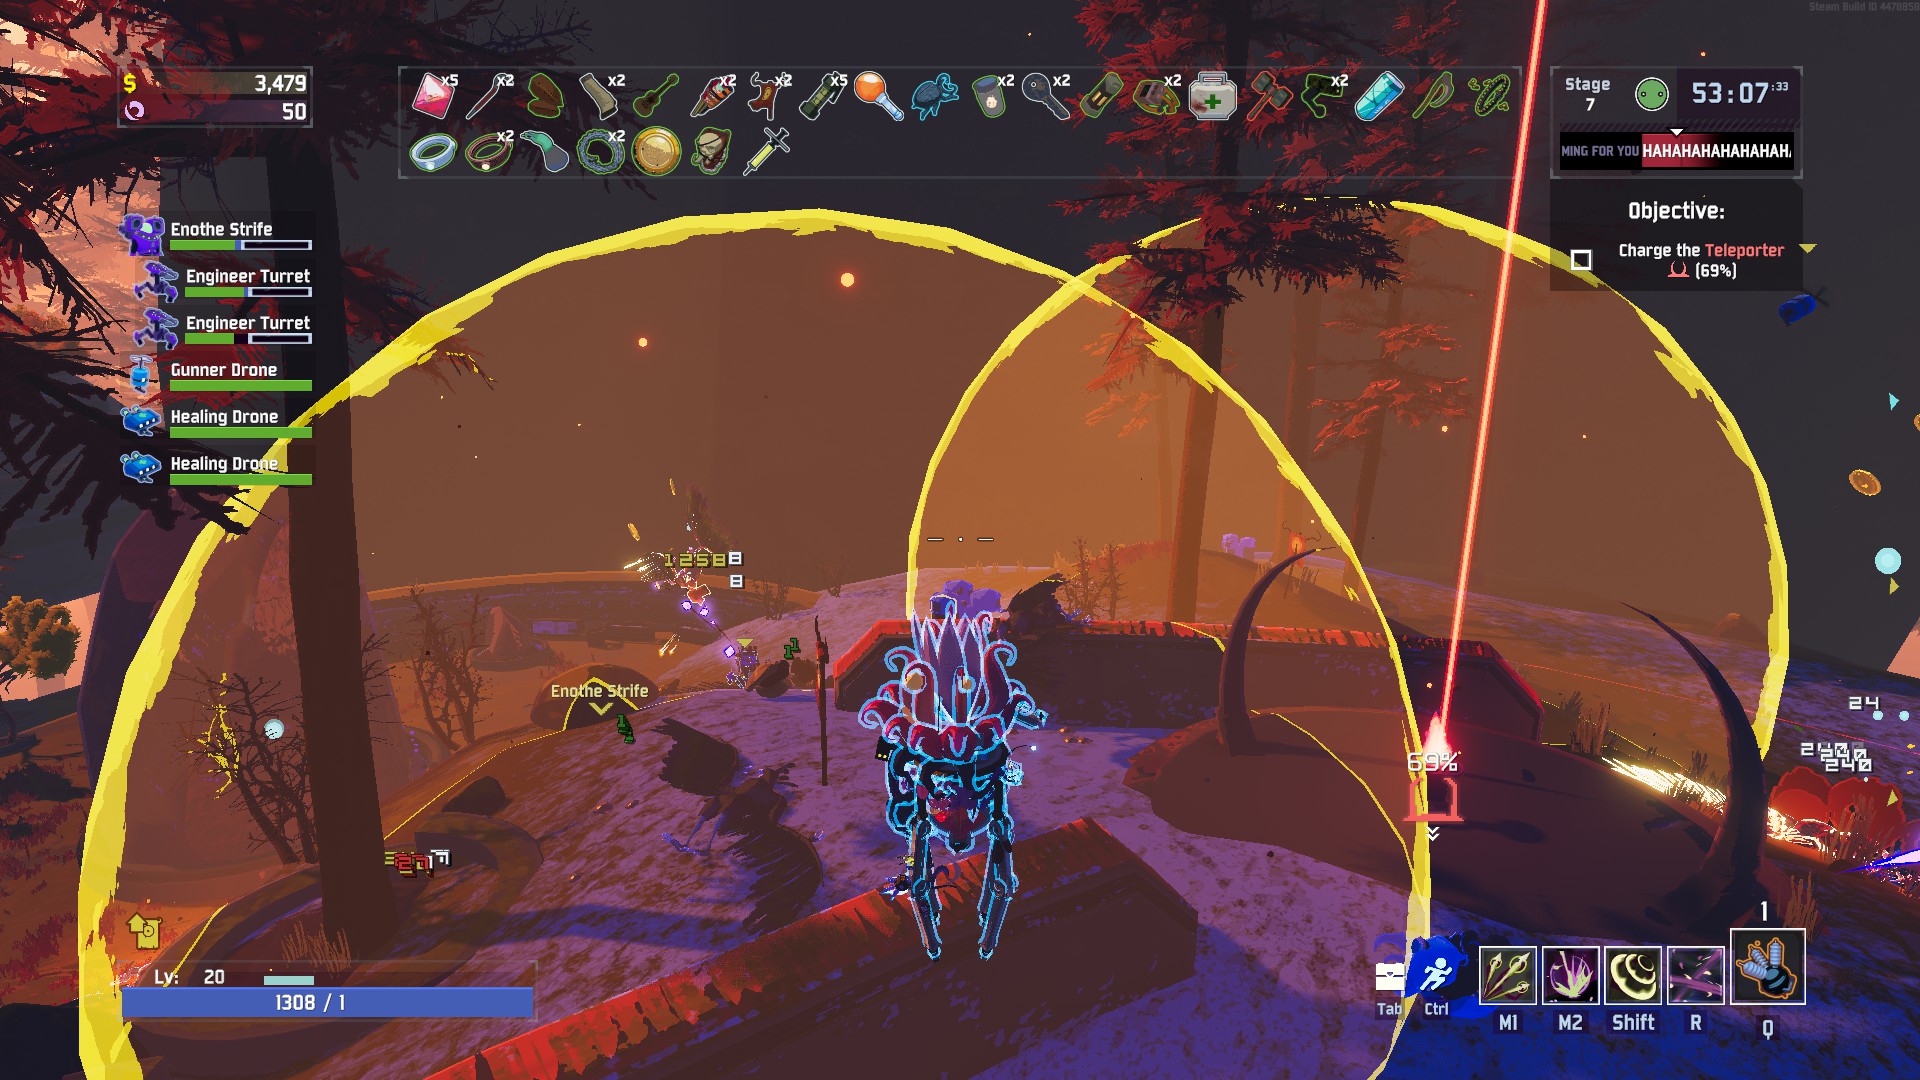
Stick around after a boss fight

Activating the teleporter will trigger a boss fight in every level, and once you pick up its loot and finish the enemy wave, you can stick around before moving to the next one. If for some reason you didn’t have time to look for all the chests, or just want to use the recently earned money from the fight, this is a great opportunity to do so. Just keep an eye on the game’s difficulty, since it won’t stop increasing over time.
Yes, you can actually sprint in the game
I’m not ashamed to admit that I constantly forget about the sprint button, so I highly encourage you to make it a habit for yourself as early as possible. (Editors note: This may seem like a basic thing, but it affects a lot of people I play with, so make sure you pay heed to this.)